


Each time you plan a home renovation, it is an exciting project that promises to transform your living space into a reflection of your style and ideas. Whether optimizing for functionality, increasing the value of the property, or just giving the home a completely new look, every step requires keen planning and decision-making. From the first blueprint to the last touch-up, you will see your dream home come alive with every step.
This guide is written to guide you through every phase of the home renovation process, providing elaborate insights and practical tips to ensure you plan, execute, and enjoy your home transformation efficiently and stress-free

Home Remodel Steps
Step 1: Understanding Your Goals and Setting Expectations
Home Renovation Goals
Every renovation project has to start with a vision. The older home that you have to bring into the modern world is a way to explain your living space and even market value. Start with defining what success looks like for your project. That can even mean sketching out potential project deliverables or creating a mood board that would help visualize the result. Always discuss these goals with family members or housemates because they have important input that may help you clarify your vision and set mutual expectations.
Replace Endless Possibilities and Opportunities
Imagine how, in the years to come, your needs may change. Sometimes, a growing family calls for the children’s expanded bedroom or playroom. The other set of a couple or two could be a home office or sunnier outdoor space to match the new lifestyle changes that come with a pandemic. Understanding these factors beforehand will guide your design choices to remain functional and fun over the years. It would be best to consider its resale value; it’s more like a return on investment. Specifically, kitchen and bathroom remodels tend to offer a better payoff from your investment, as these renovations attract a broad market by significantly enhancing the property’s functionality and appeal.
Setting Real a Realistic Expect
Managing expectations is key to not getting disappointed. In all renovation and whole house remodel or exercises, there are bound to be unexpected challenges. This generally involves issues with the structure or modernization of plumbing and wiring. Put aside part of your money and prepare for such surprises. Communicate with your contractor about possible hitches and explain to them how they will impact your timeline and budget. This transparency gives you room to mentally and financially prepare for the bumps along the way.
Step 2: Initial Planning and Design
Creating a Detailed Remodel Plan
Your renovation journey begins with a detailed project plan. The document’s next project name should outline every aspect of your renovation, from structural change to finish selection.
You can now start listing each room involved and specifying the changes that each one will undergo during whole home renovations. At this juncture, we suggest using architectural software or sketch pads to start drawing up some drafts or hiring a professional designer with technical know-how and bright ideas.
Incorporating Design Inspir
The design inspiration should reflect your vision to anyone else who may be involved in the renovation. Collect pictures, fabric swatches, and materials samples that illustrate the look and feel one needs. Pinterest and Instagram are great ideas, while design magazines represent not only modern trends in classic style but also are the most useful source to refer to during your discussions with designers and contractors, ensuring that the style is carried through the project.
DIY and When to Hire Professionals
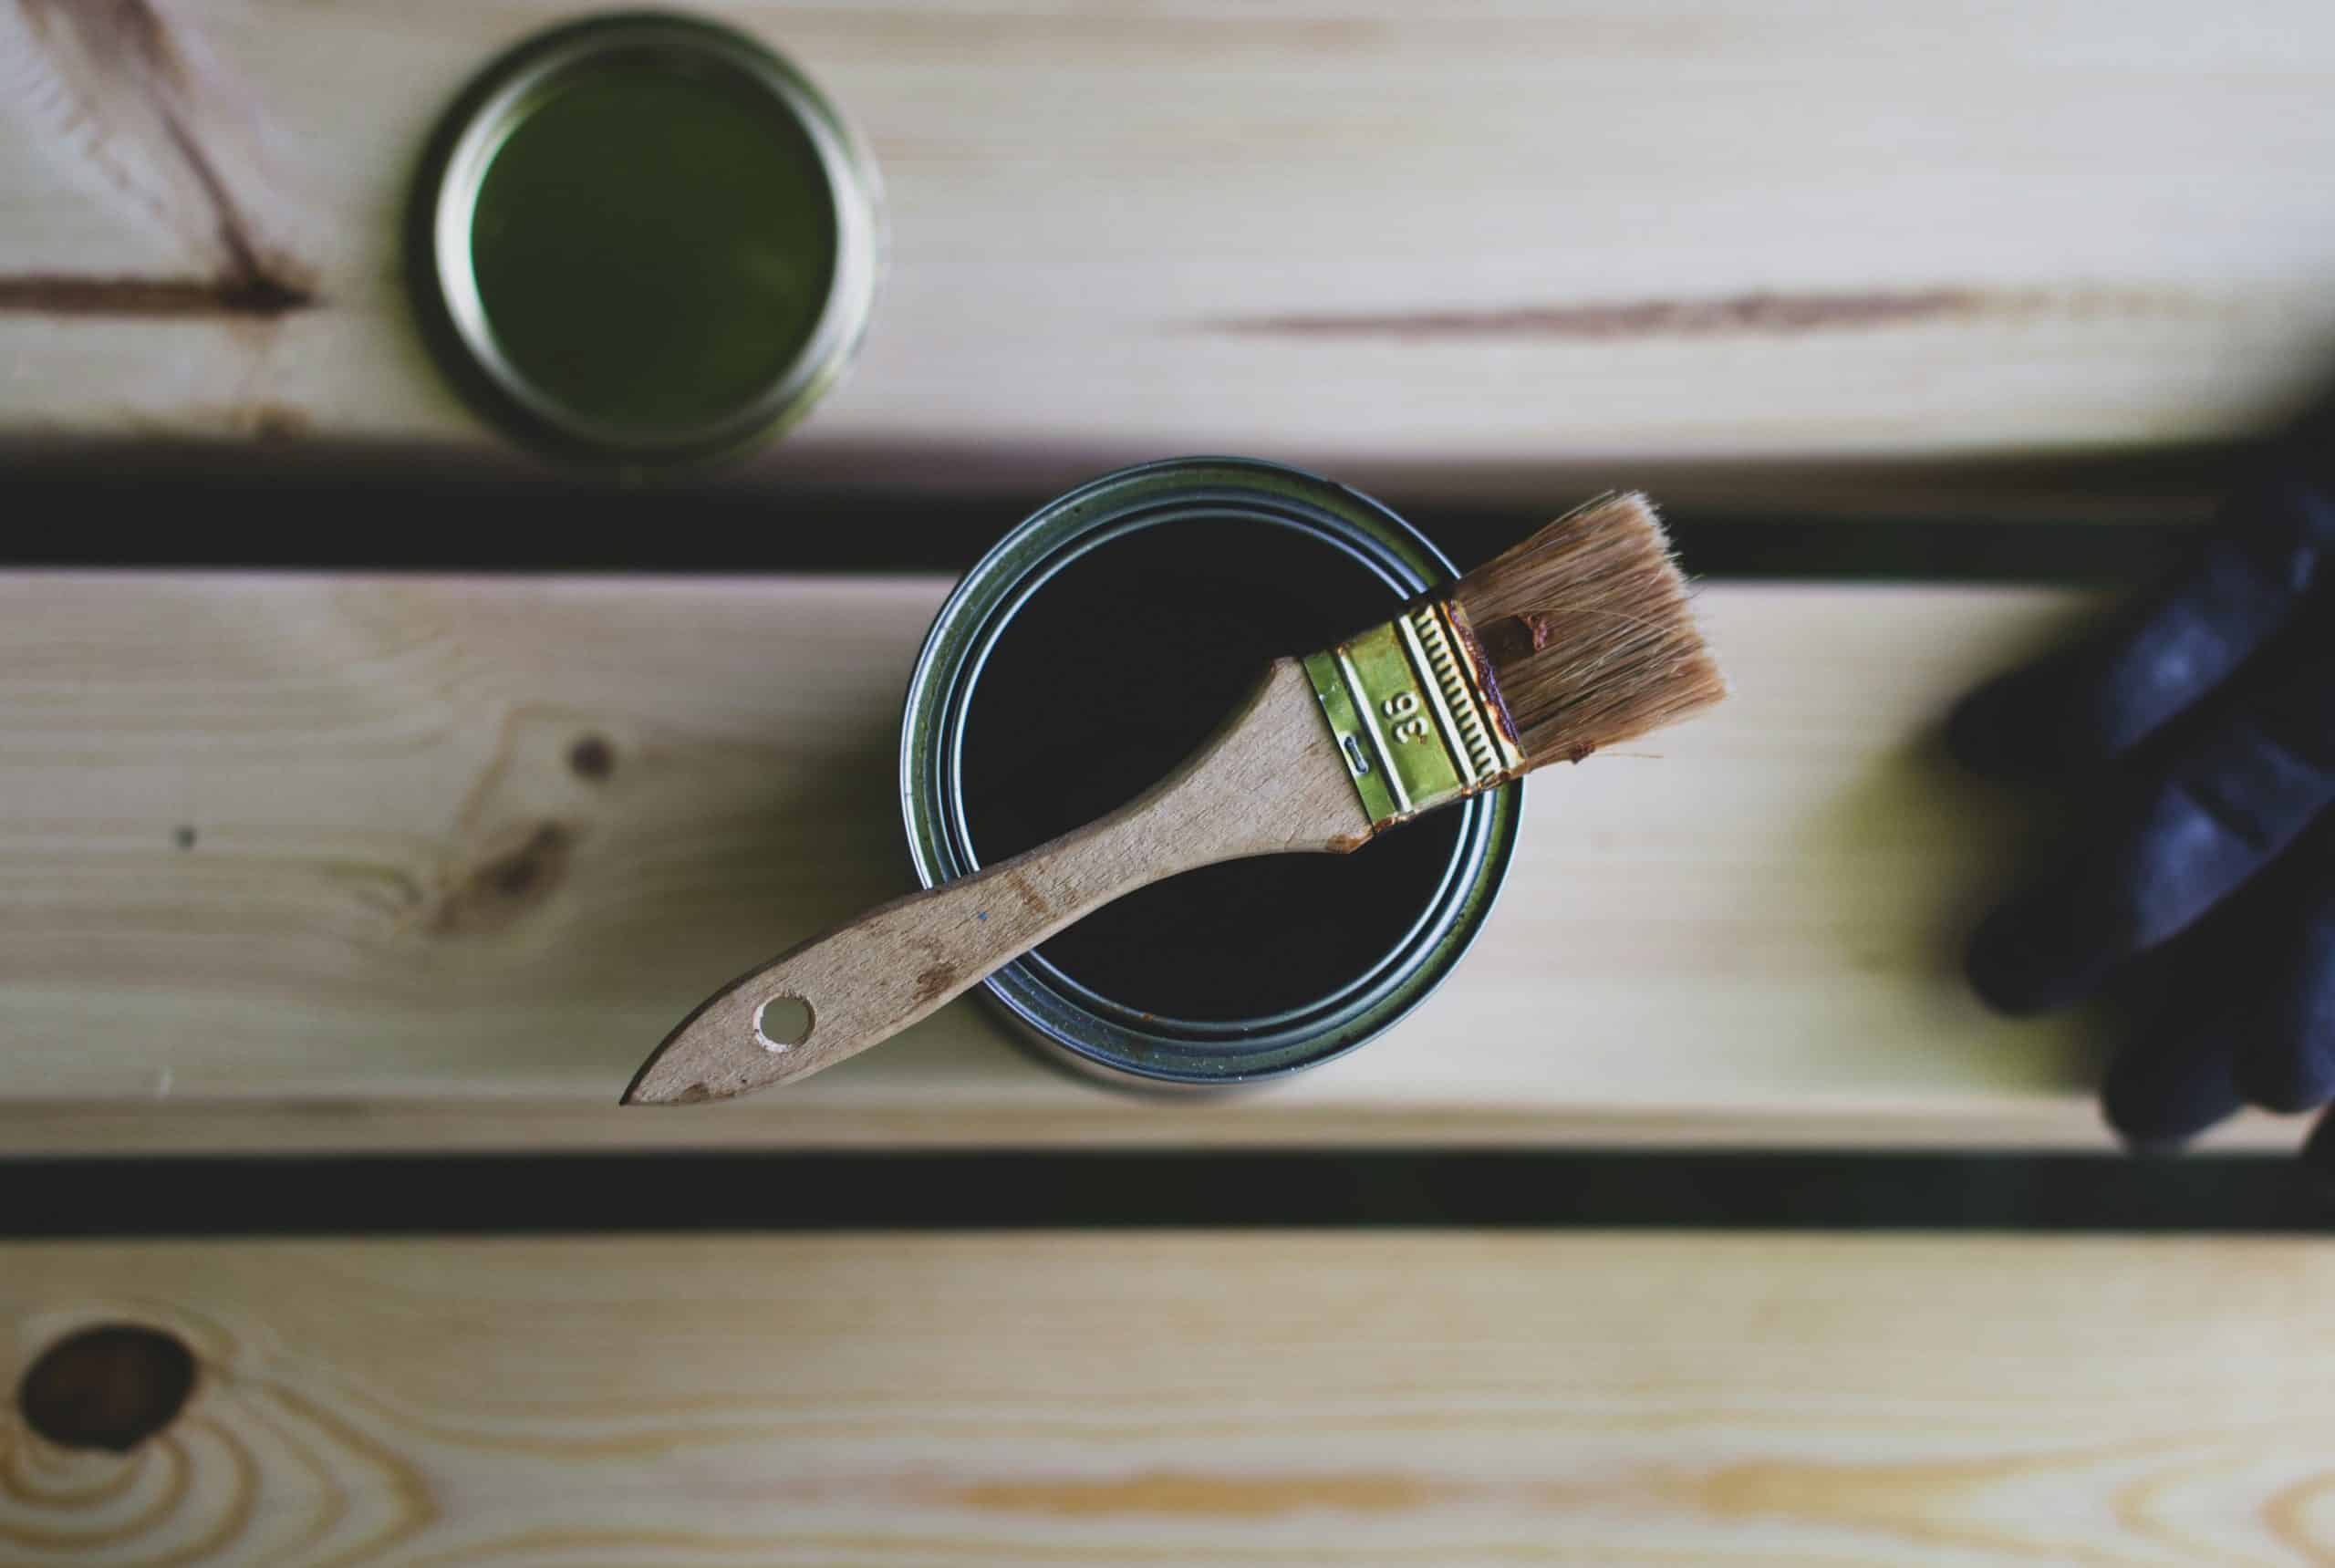
It’s just deciding early enough which ones you can handle by yourself and which ones will require the help of a professional. Simple cosmetic updates or refurbishments, such as painting or minor hardware replacements, can usually be done as DIY projects and are money savers. Complex tasks, like electrical work, plumbing, and structural changes, must be left to the experts and carried out by licensed professionals. Identify these tasks in your plan, ensuring smooth execution without infringing upon safety or local construction codes.
Step 3: Budget Planning
Setting a budget comprehensively
An excellent and elaborate budget is essential for a successful renovation. Research the average costs of the upgrades you plan to undertake.
Plan your budget precisely, including all material costs, labor, and permit fees. Leave a contingency fund for unexpected expenses, usually between 10% and 20% of the total budget. An itemized financial plan would help you avert cost overruns and finish your project as you intended.
Your Renovation Financing
Look for varied financing options if your savings don’t add to the total budget. Home equity loans, home improvement loans, and even personal loans are preferred, but they have pros and cons. You may want to consult a financial advisor to determine your best option. That investment should be weighed against a balanced judgment on the likely increase in the home’s value after renovation.
Cost-Saving Strategies
There are several ways to stretch your renovation budget. Choose mid-range options for materials that offer durability but not the premium price. Plan your renovation in off-peak seasons where the contractor’s demand will not be very high, therefore possibly negotiating for better rates. Moreover, source materials through discounts and sales, or even consider refurbished or second-hand items for that unique, affordable addition to your home.
Step 4: Legal and Administrative Preparations
Know Local Zoning and Permit Requirements
First, get to understand the respective local zoning laws and permit requirements that your renovation project will most probably be required of by the concerned party. Renovations will probably need different sizes and locations from those required for demolishing. For example, structural changes usually demand stricter authorizations than those needed for aesthetic changes. Start by visiting the offices and sites of your local building authorities to pick up paperwork and constraints. This will help avoid litigations that could mean delays or accrue fines.
How do you work with neighborhood restrictions?
If you do find yourself living within a homeowners’ association (HOA), there are likely to be many other sets of rules and regulations in place for your renovation. As come with rules over exterior design, height, and even how loud one can get while constructing. You will want to scrutinize your HOA’s rules carefully to ensure your renovation plan stays in line. Failure to do so will result in forced changes or even removal of non-compliant elements with corresponding unexpected cost and delay implications for your project’s success.
Applying for Permits
The process of applying for permits can vary from one jurisdiction to another. This typically consists of submitting your plans with your renovations for review, often carrying a fee. This can take some time, so begin this step early in the project timeline. Sometimes, a contractor can handle permits because it’s more familiar with the local building code and inspection process. State in the contract what their responsibility is to avoid any confusion.

Step 5: Choosing the Right Team
Choosing Your Contractors and Designers
Your renovation kitchen remodel will most likely succeed if you have a competent and trustworthy team. Start with recommendations from friends, family, and preferred online review sites. Once you have a list of possible contractors and designers, set up a physical meeting to review their credentials and portfolio of previous work. It will be important to seek their experience, especially with projects you are planning.
Verification of Licenses and Insurance
Ensure that the contractor or designer is licensed and insured. This works for you as a security blanket in case of liability, such as accidents or damage to property that may occur during the renovation. Request proof of insurance and state licensing; if possible, check. It will not only ensure its humanness but also give you peace.
Planning Communication
Develop a clear communication plan with your remodeling team. Decide how often you should meet to discuss progress and changes and if or when problems arise. Open communication will go a long way toward keeping your remodeling project on track and solving problems on time. It also helps build a good working relationship with the team, thus making the process smooth for everyone.
Step 6: Timeline and Scheduling
Develop a Realistic Timeline
It is crucial to develop a realistic and well-detailed timeline for effectively managing the various phases of your renovation. Divide the project into major milestones and attach deadlines to each phase. It’s important that you’re human in your thinking, considering external factors that might influence your timeline: weather conditions, supply delivery times, and even local holidays that might impact work schedules.
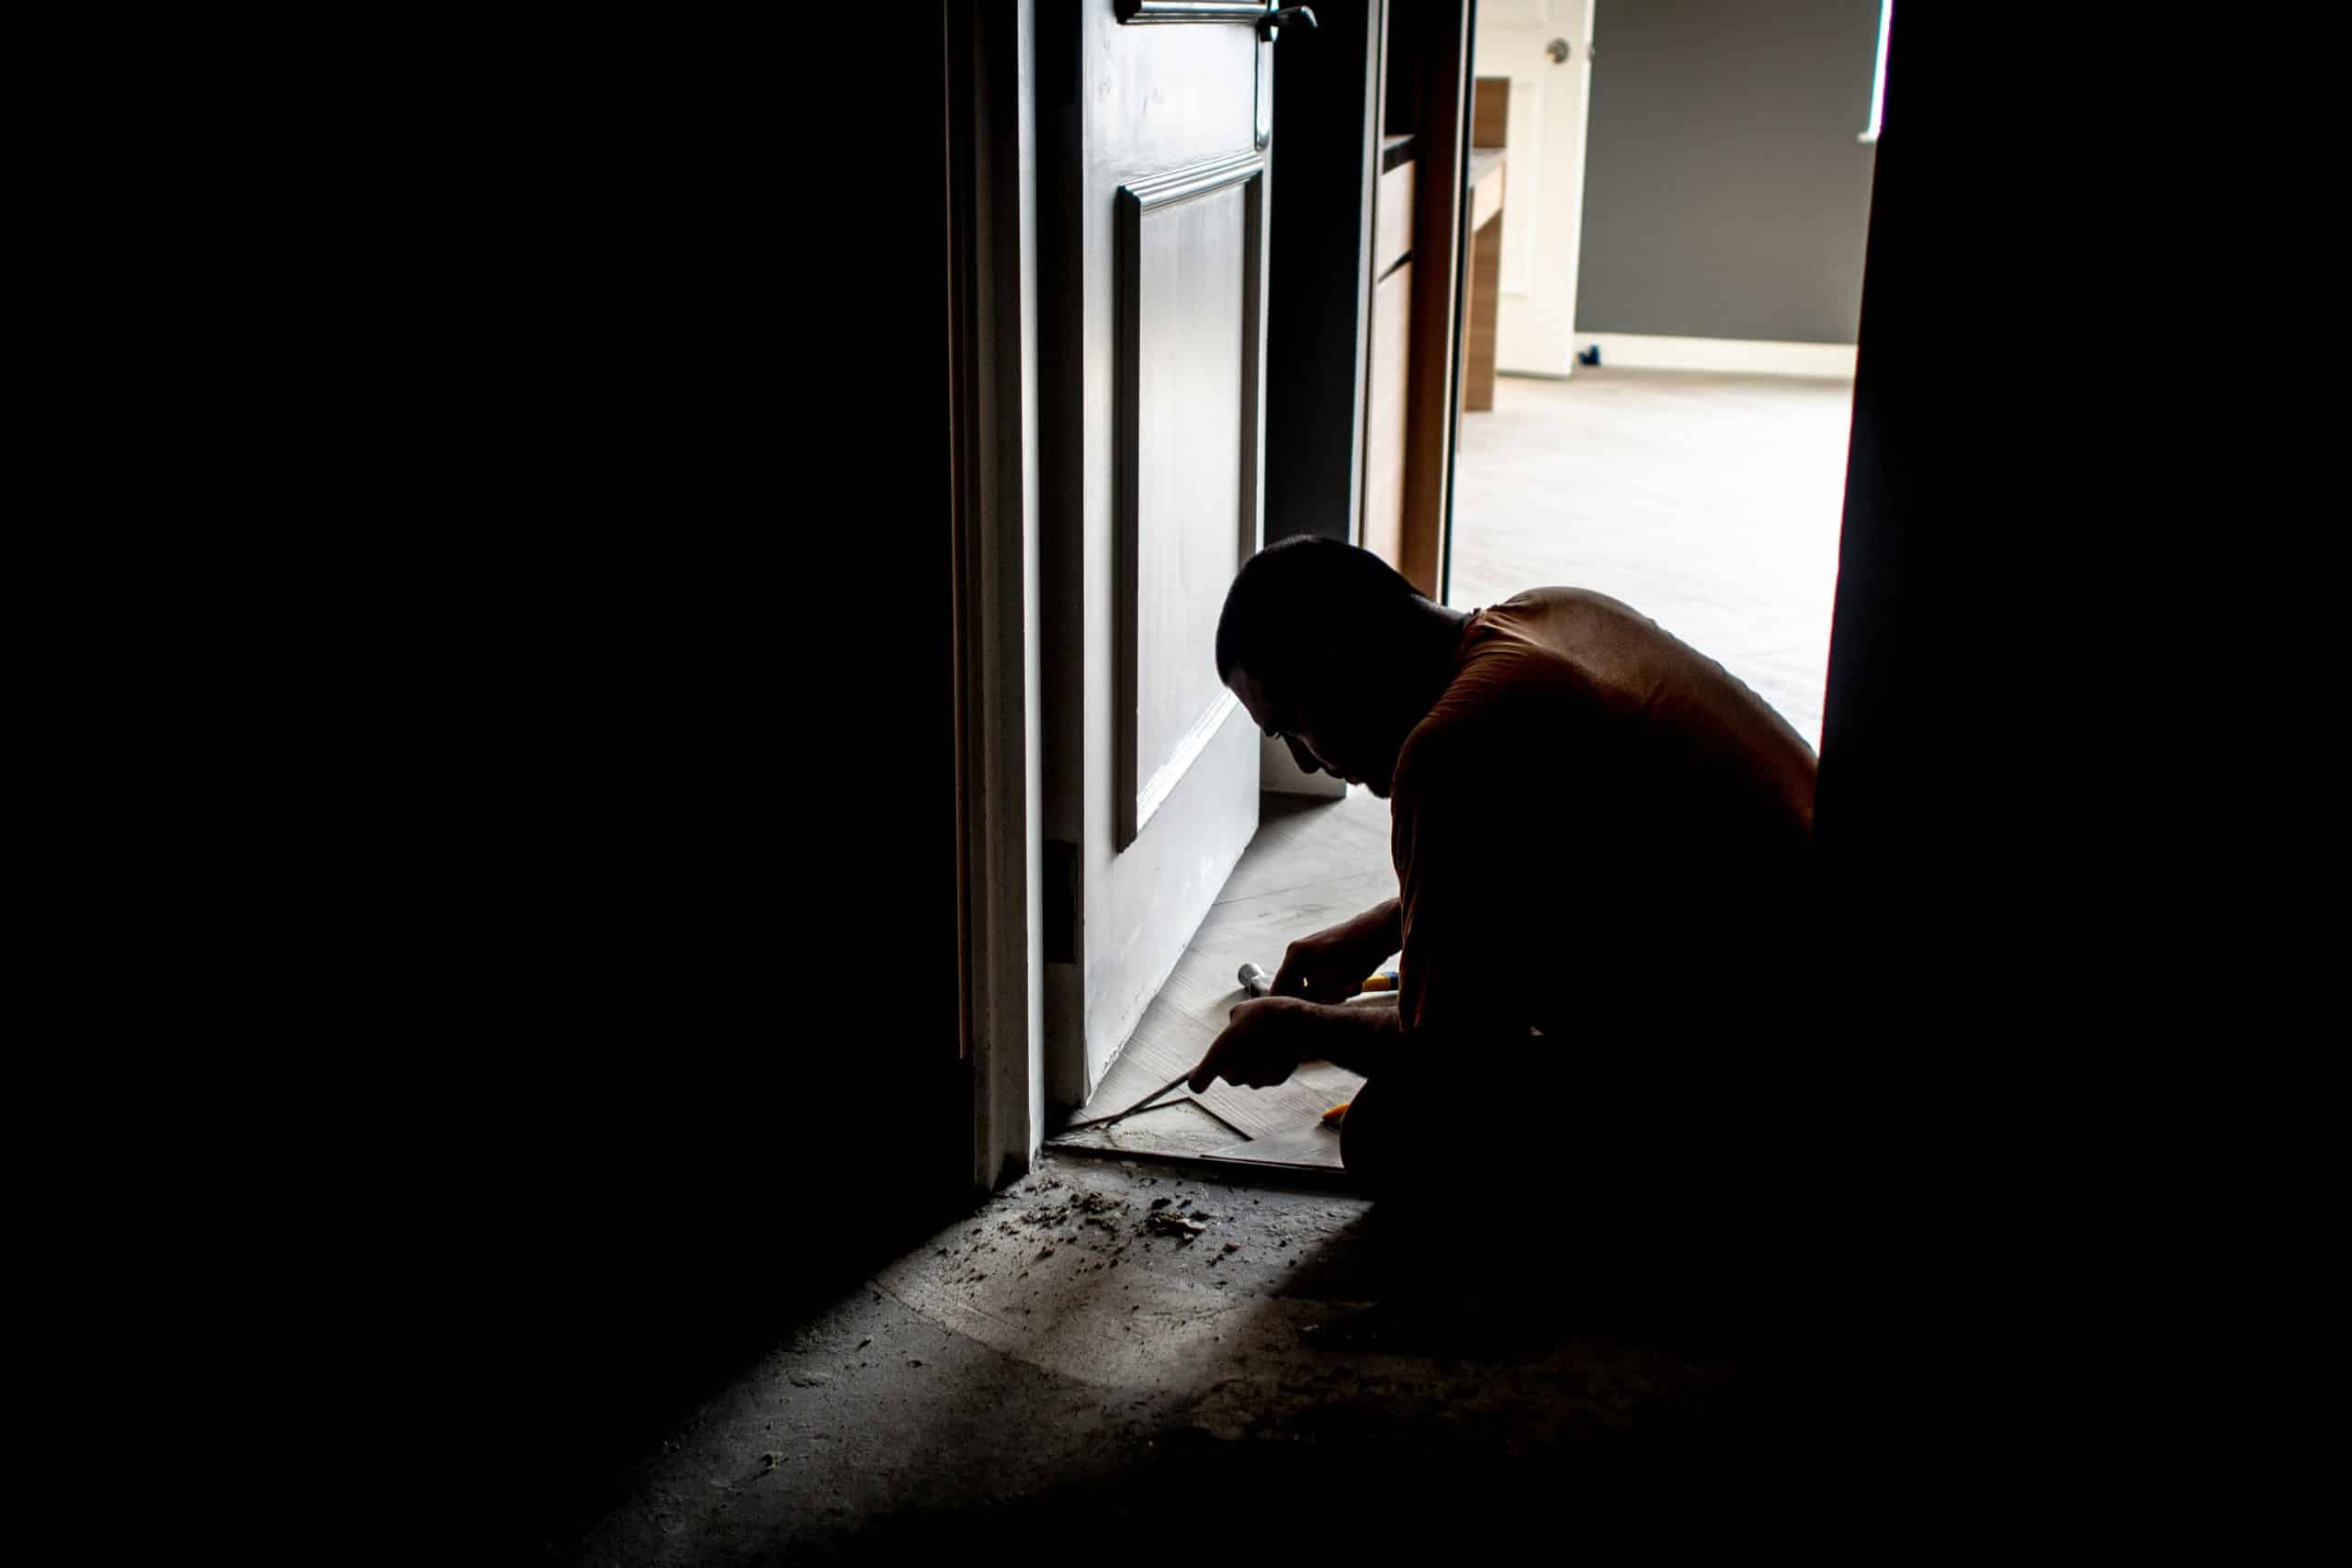
Living Through the Renovation
If you plan to stay in your home during the renovation, prepare for disruptions to your daily life. Make construction-free areas ‘safe zones’ to maintain some hint of livability. If possible, give your contractor ideas on keeping excessive dust and noise to an acceptable minimum. Propose temporary alternatives for essential amenities: for instance, propose a temporary kitchen being fitted if the main kitchen is not working.
Safety and Security During Construction
Maintain a working environment that is safe and secure during the working hours of the construction process. Endangering products should be stored in a safe place. Let your contractor know if any pets or children will be in the work area so that he takes necessary precautions. Besides, update your home insurance to cover the renovation period. Some policies may require notification of major construction work.

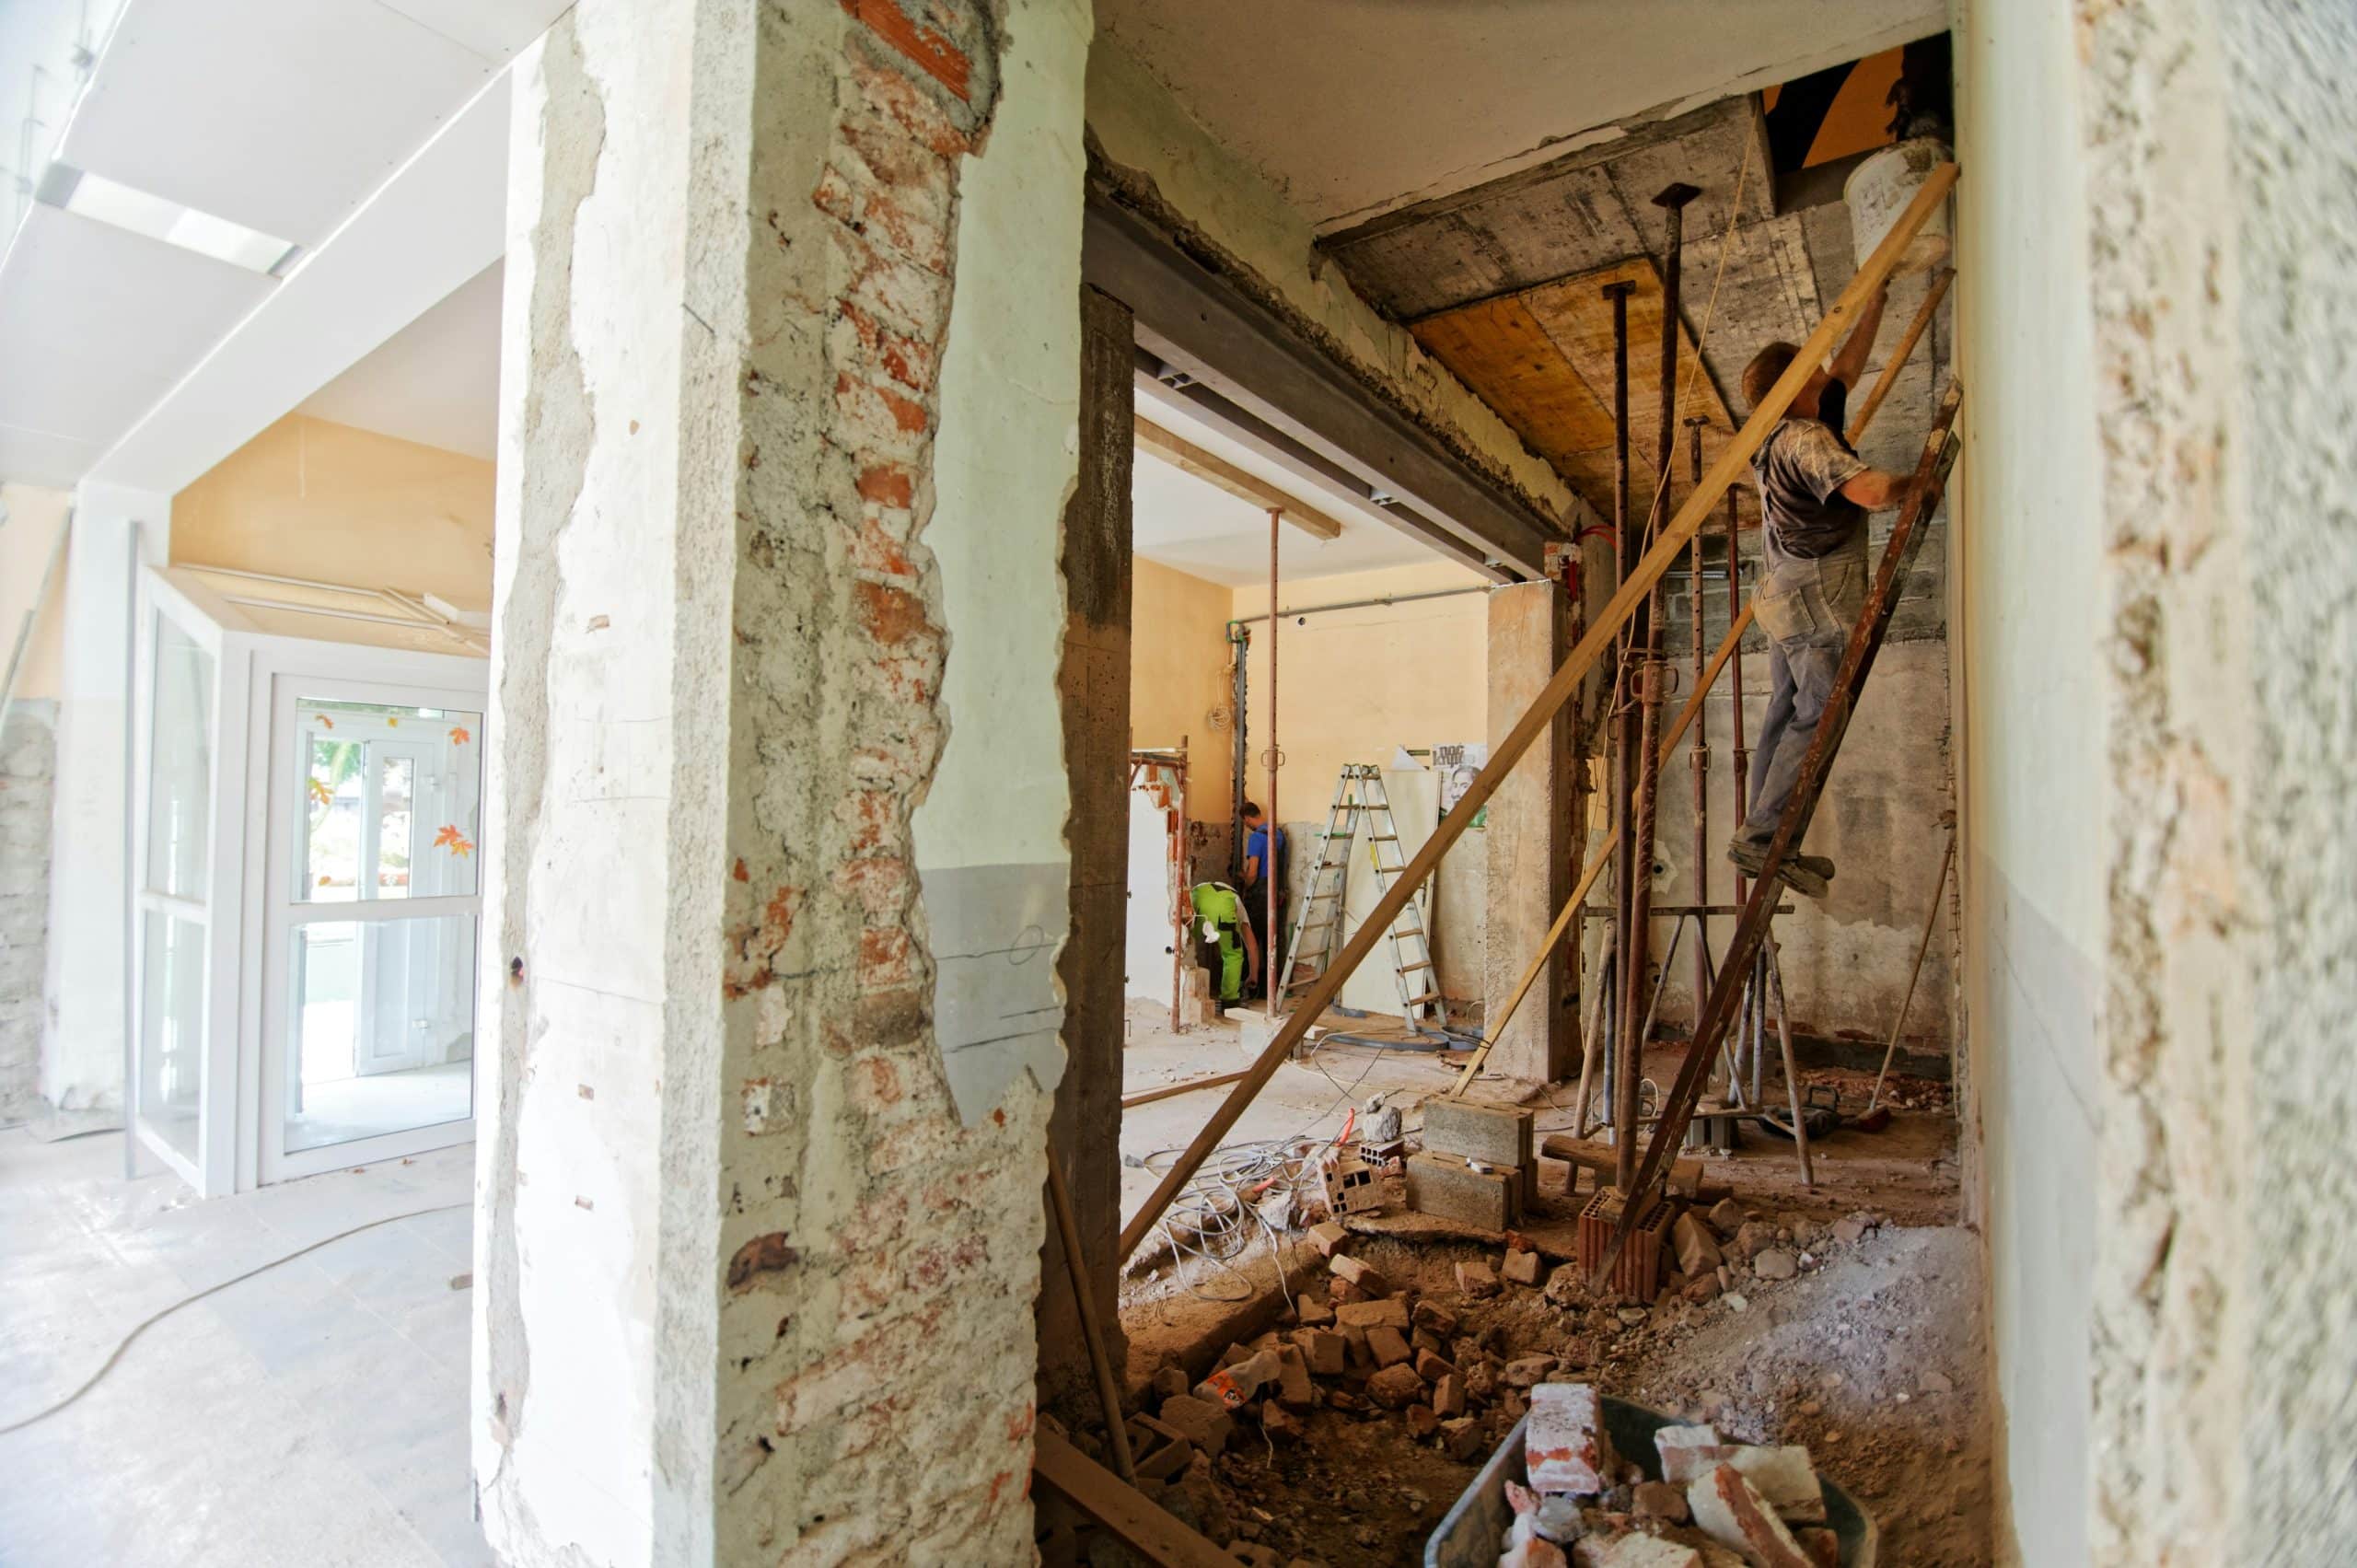
Step 7: Dealing with Demolition and Construction
Preparation for Demolition
It will likely be messy, unpleasant work, but it has to be done: demolition is a very necessary part of your whole home renovation anyway. It pays to take down everything that can be salvaged before you start. Otherwise, ensure that materials are either removed or protected beforehand. Schedule waste pickups or rent dumpsters if needed. Let the contractor explain how far the demolition has to be carried. This also works at times to ensure that the disconnection of utilities is proper so that nobody meets with any accidents.
Executing Safe and Efficient Demolition
Safety comes first during demolition. Your team should have the right tools and safety gear and comply with local safety regulations. Efficient demolition also requires a systematic approach to tearing down structures, which is pre-planned so as not to produce undue disruption and waste. The contractor will ensure that this process occurs closely and not in other designated areas for the demolition and that no compromise of the structural support takes place.
Managing Construction Debris and Recycling
Proper disposal of construction waste is not only about cleanliness but also about responsibility. This material can also be recycled easily. Hence, wood, metal, and some types of glass and plastics can help lessen the environmental impact of your renovation. Discuss recycling with your contractor to ensure debris is sorted accordingly. This would help the environment and reduce the cost of disposal.
Step 8: Structural Changes and Building
Planning Structural Changes
Any structural changes—removing a load-bearing wall or even adding an extension—will need some careful planning beforehand. This may include a detailed architectural plan or even consultation with a structural engineer. These professionals can ensure that all the planning you have in mind is safe and feasible and meets all local building codes. Most of these changes usually need certain permits and inspections to proceed.
Executing the Building Phase
With the appropriate permits and blueprints, actual construction begins. This stage needs to be handled cautiously so that all parts of the structure are built or modified according to specifications. Regular checks by concerned authorities may be called to ensure the construction is proceeding in line with the safety requirements. Your contractor should have a schedule to accommodate such inspections without delaying the project.
Incorporating Energy
While rebuilding the house, consider modernizing with an energy-saving upgrade, which may include newer insulation, energy-efficient windows and doors, and contemporary heating and cooling systems. These and the improved features will add sustainability to your home, enabling you to slash energy bills in the future. Discuss these options early in the planning phase to be integrated into the architectural plans.
Step 9: Mechanical Updates
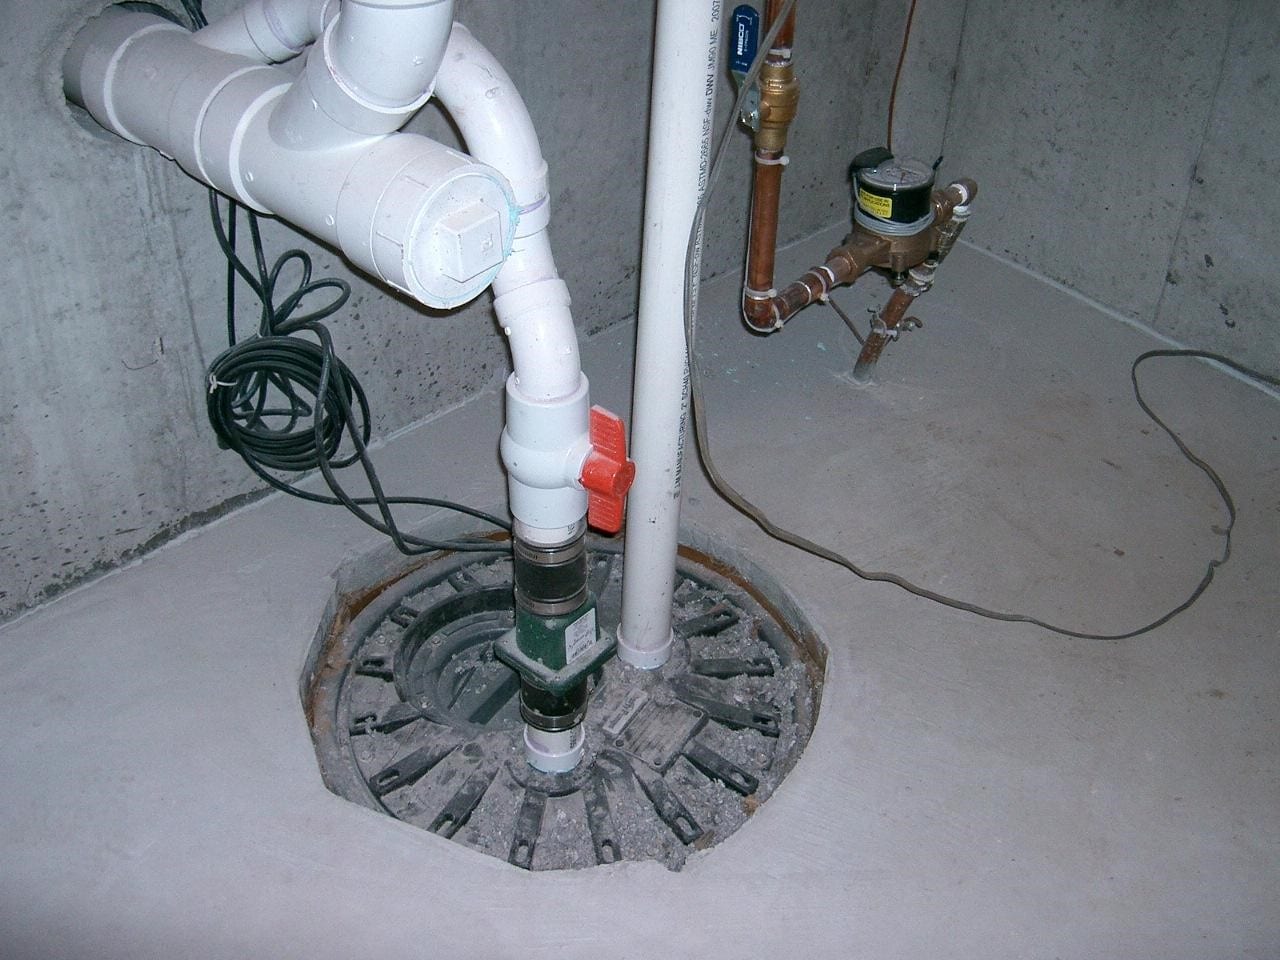
Upgrading to a New Electrical, Plumbing, and HVAC System
Old homes often need their electric, plumbing, and HVAC systems upgraded to current standards and efficiencies. Plan these updates early, as they save money and often need to be done before closing up walls and floors.
This could involve replacing older wiring and pipes and upgrading the central heating and cooling systems. Ensure that professionals carry out these works, as an improper installation will yield serious problems in the future.
Integrating Smart Home Technology
Most modern renovations will include installations of smart home technology. This would range from a smart thermostat to a security system and even to a fully integrated home automation system that could control lighting, climate, and media. Put in time for the installation of these technologies, as some may impact the placement of electrical cables and the network.
Ensuring Compliance and Efficiency
All mechanical updates are performed per local codes and regulations, which might have changed since your home was originally constructed. The update should ensure safety, increase efficiency, and bring functionality to the whole home again. Regular consultation among you, the contractor, and the specialist subcontractors to ensure the installations are done correctly and efficiently.
Step 10: Interior Design and Aesthetics
Choosing Interior Finishes
Selecting the interior finishes of paint, flooring, and fixtures is critical to mold the look and feel of your newly updated home. First, think about the general aesthetic you’re trying to achieve with the room, be it modern minimalism, rustic charm, or classic elegance. If you’re considering painting, remember that some finishes are more advisable than others for cleaning and durability, at least in high-traffic areas. Balance comfort, style, and functionality with floor use and climate of the room.
Choosing Fixtures and Fittings
Fixtures and fittings, such as lighting, faucets, or cabinetry hardware, can add to the interior design of the room. Choose pieces that fit in the flow of your home’s total design theme but are also durable and easy to use. Opt for energy-efficient and water-saving options in lighting fixtures, and plumbing fixtures to complement your changes and add value to your renovation.
Ensuring Cohesion Across Rooms
Ensure they flow freely from one room to the other to create uniformity throughout the whole house remodels. Not all the rooms should have a similar outlook, but some common design element—a color scheme, material, or design style—that ties the spaces together. This will give your renovated home a cohesive and thoughtfully put-together look.

Step 11: The Finishing Touches
Installation of Cabinets and Appliances
Another major phase of restoring functionality to your home is installing your cabinetry and appliances. Schedule these installations at a time when construction dust and potential damages are minimized. Good cabinetry will provide the right style and storage solutions while choosing good appliances will enhance efficiency and allure.
Final Fixtures and Decor
As the large constructions and installations were completed, attention was shifted to these final fixtures and decorations. These include light fixtures, bathroom gadgets, and decorative accessories. Choose items that will complement the interior design and add utility values. For example, layered lighting can boast a lighting effect and still offer enough light for reading or socializing in living rooms.
Final Inspections and Punch List
Before considering the project complete, undertake a final walkthrough inspection to ensure that everything in the renovation area meets local building codes and your standards. This is also the best time to bring up issues, for example, touch-ups on paint or changes to fittings. Ensure that your contractor keeps a checklist of all warranties and manuals on new installations and discusses the tips for maintenance with you.

Step back and admire your transformed home. This should serve as a reflection of the journey that brought you to this point. More than a set of building tasks, your home renovation represents a creative process—it’s almost a rebirth for your home. It takes time, keen planning, and readiness to adjust if things fail to go as anticipated. With this guide, we try to unfold the essentials in planning and organizing a successful home renovation—from understanding legal requirements down to the finishing touches of improving the aesthetic value of your space. Now that the dust is gone and everything has settled enjoy living in and using your newly remodeled space, which will be regularly maintained to keep it functional and beautiful.
Celebrate your successful mission and enjoy the renovated home. Realize that you have increased the house’s value and quality of living. Remember now and then that each renovation is just one more learning experience, leaving you even better prepared for every upcoming home improvement. Then, enjoy the new chapter in your home, and when it’s ready to take on an adventure of its own, consider another home remodeling again!