


Steps to Finish Basement Walls: Integrating Modular Systems and Floor Joists for Enhanced Durability
Basement wall finishing is also more of an investment policy than an aesthetic upgrade. It changes your basement into a functional and livable space; it shoots up the value of your home, which means the value is increased to a good extent. The general return on investment from a range of a professionally done built-in basement would yield about 70-75%, leading to at least a 20% decrease in energy bills at your home, as basements often are huge sources of energy loss.
A finished basement effectively adds living space that could be used for many things, like a home office, gym, or even a family entertainment area. This guide takes you step-by-step through all the most important aspects of the operation—from moisture concerns to getting the final touches just right.
Section 1: Assessing and Addressing Moisture
Describing the Moisture Issues
Before starting your renovation, it would be better to assess the health of your basement for possible moisture. This condition is responsible for the formation of molds and mildew, which sometimes lead to structural damage in the worst case. Here are some detailed ways to detect moisture:
Visual Inspection: Inspect the presence of wet areas, which watermarks could mainly detect, the flaking off of paints, white powdery efflorescence on walls and concrete, and growth of moldю
The Plastic Sheet Test: For more accurate moisture testing:
Cut a 1-foot square piece of plastic film and tape it tightly in several places on your basement walls and floors, taping off all edges with strong tape.
Leave the plastic in place for at least 24 hours. Then, check if there is any condensation on the inside of the plastic or dampness on the wall side, which means there is a moisture problem. For a clearer demonstration, follow along with our video tutorials below, which go step-by-step through each process.

Comprehensive Waterproofing Solutions
Addressing moisture effectively is essential for a safe and durable basement remodel. Here are some proven waterproofing methods, detailed with step-by-step guidance:
Installing Gutters and Downspouts
Ensure your gutters are clean and free from debris that could cause water to overflow and pool around your foundation.
Install downspout extensions to carry water 5 feet away from your house. This simple adjustment can significantly reduce the risk of foundation water damage.
Improving Grading
The ground around your home should slope away from the foundation to prevent water from pooling around the basement walls.
Ideally, the slope should be at least 6 inches over 10 feet of horizontal distance. You may need to add soil around your home to achieve this grade.
Applying Waterproof Coatings and Vapor Barriers
Waterproof coatings: Apply a waterproof paint or sealant on the interior of your basement walls. These coatings act as a barrier, preventing moisture from seeping through.
Vapor barriers: Install a vapor barrier directly against the basement wall before framing and insulating. This plastic or foil sheet will block moisture from penetrating finished areas.
Installing a Sump Pump
A sump pump is essential in areas prone to flooding or where water tables are high. It collects water in a sump pit and pumps it away from your home.
Ensure regular maintenance of your sump pump to keep it functioning efficiently.
For each of these steps, our interactive diagrams and step-by-step guides in the visual section will help you understand how to implement these solutions effectively.
Section 2: Planning and Permits
Local Regulations
Remember, bring in local building codes and regulations when designing your basement remodeling Washington project. Some important considerations include:
Building Permits
Most structural changes require permits in most Washington cities, and the basement conversion is nothing but this; it often includes additions, major renovations, and electrical and plumbing works.
Contact your local building department or visit their website for specific directions to your area. For instance, Seattle has its set of residential codes, which may differ in certain terms from Spokane or Tacoma.
Electrical and Plumbing Permits
Separate permits are usually required to install or alter new plumbing or electrical systems.
Inspections could be required to ensure everything is coded. This is not just legal but also a means of protecting against potential problems.
Historical Preservation
Restrictions and requirements may be added depending on whether you live in a historic district. Typically, tight regulations are in place to maintain the neighborhood’s aesthetic value or nature.
Detailed Cost Breakdown and Budgeting Tips
Remodeling a basement in Washington comes at various costs, depending on its size, the quality of materials used, and the kind of work to do. Here is how you plan your budget:
State pricing
Use the interactive calculator below to estimate how much our total spending will add to your particular plans and choices. Considering the finishes and complexity of the project, the average basement finishing cost in Washington usually ranges between $25 and $90 per square foot.
Cost-Saving Tips
Select from readily available materials at reasonable costs that will provide the required durability without inflating costs. Examples may include luxury vinyl tiles in place of hardwood flooring.
Do It Yourself vs. Professional Help
Consider what you can safely do or what may require professional input. You may be able to do some of this work yourself, saving the expense of labor, but be cautious not to overextend your skills in some important areas—mainly electrical and plumbing.
Fringe Plan
Ensure you build a cushion within your budget, usually around 10-15%, as unforeseen spending is often needed. Renovations typically reveal many more issues: years of water damage gone unnoticed or failing wiring systems are only some of the few.
Be informed of Washington State’s needs and set a budget; doing so, your basement renovation should be flawless without causing any legal or financial issues.

Section 3: Choosing Materials
Framing and Insulation Material Options
When choosing materials for framing basement walls, consider wood studs for their affordability and ease of use. These studs are ideal for enhancing insulation and soundproofing. However, wood may be prone to mold and moisture damage in damp basements. Metal studs, though more costly and needing special tools for installation, offer durability and resistance to moisture.
Selecting materials that align with energy efficiency and environmental impact is key for insulation. Eco-friendly options like recycled cotton insulation from denim scraps offer great thermal performance and are sustainable and safer than traditional fiberglass. Another choice is formaldehyde-free fiberglass insulation, which improves indoor air quality by reducing volatile organic compounds (VOCs). Consider each material’s benefits, including cost-effectiveness and environmental impact, to match your needs.

Tools and Equipment
Finishing your basement requires the right tools for a successful and smooth project. Essential tools include hammers for framing, power drills for securing frames, saws for cutting materials and measuring tapes for accuracy.
Choosing and mastering the appropriate tools and materials ensures your basement renovation meets high quality and sustainability standards.

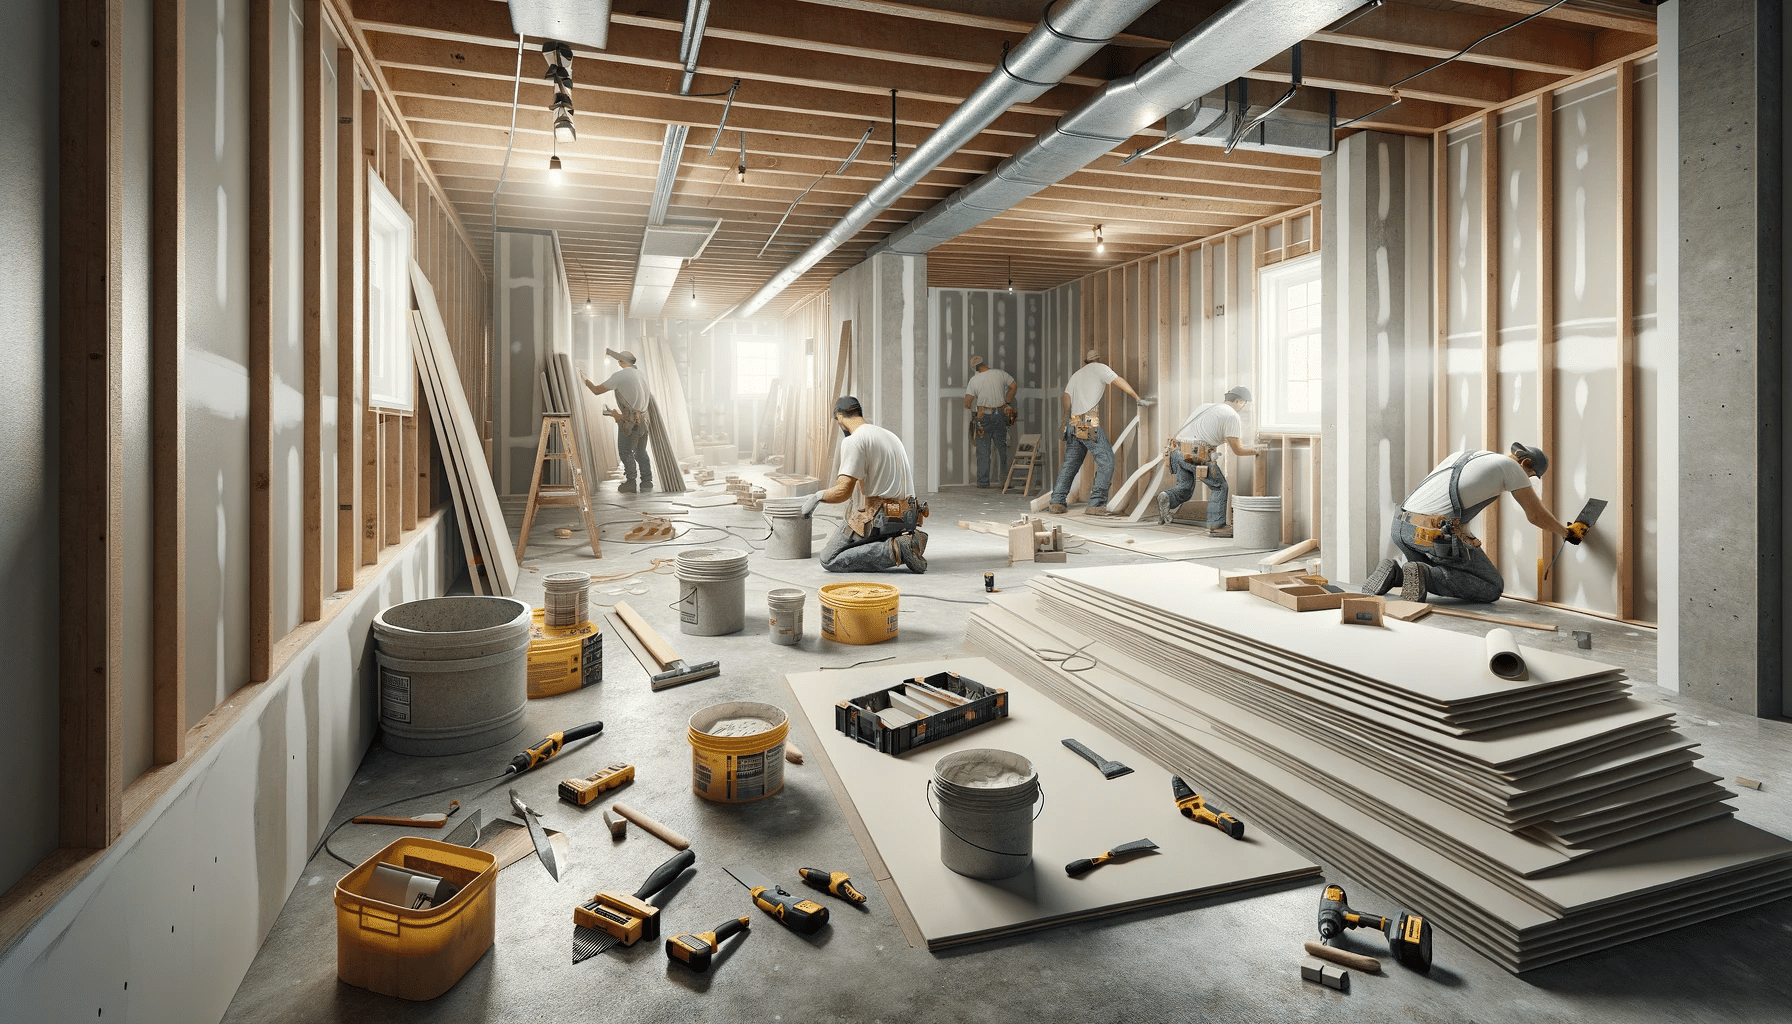
Section 4: Step-by-Step Installation Process
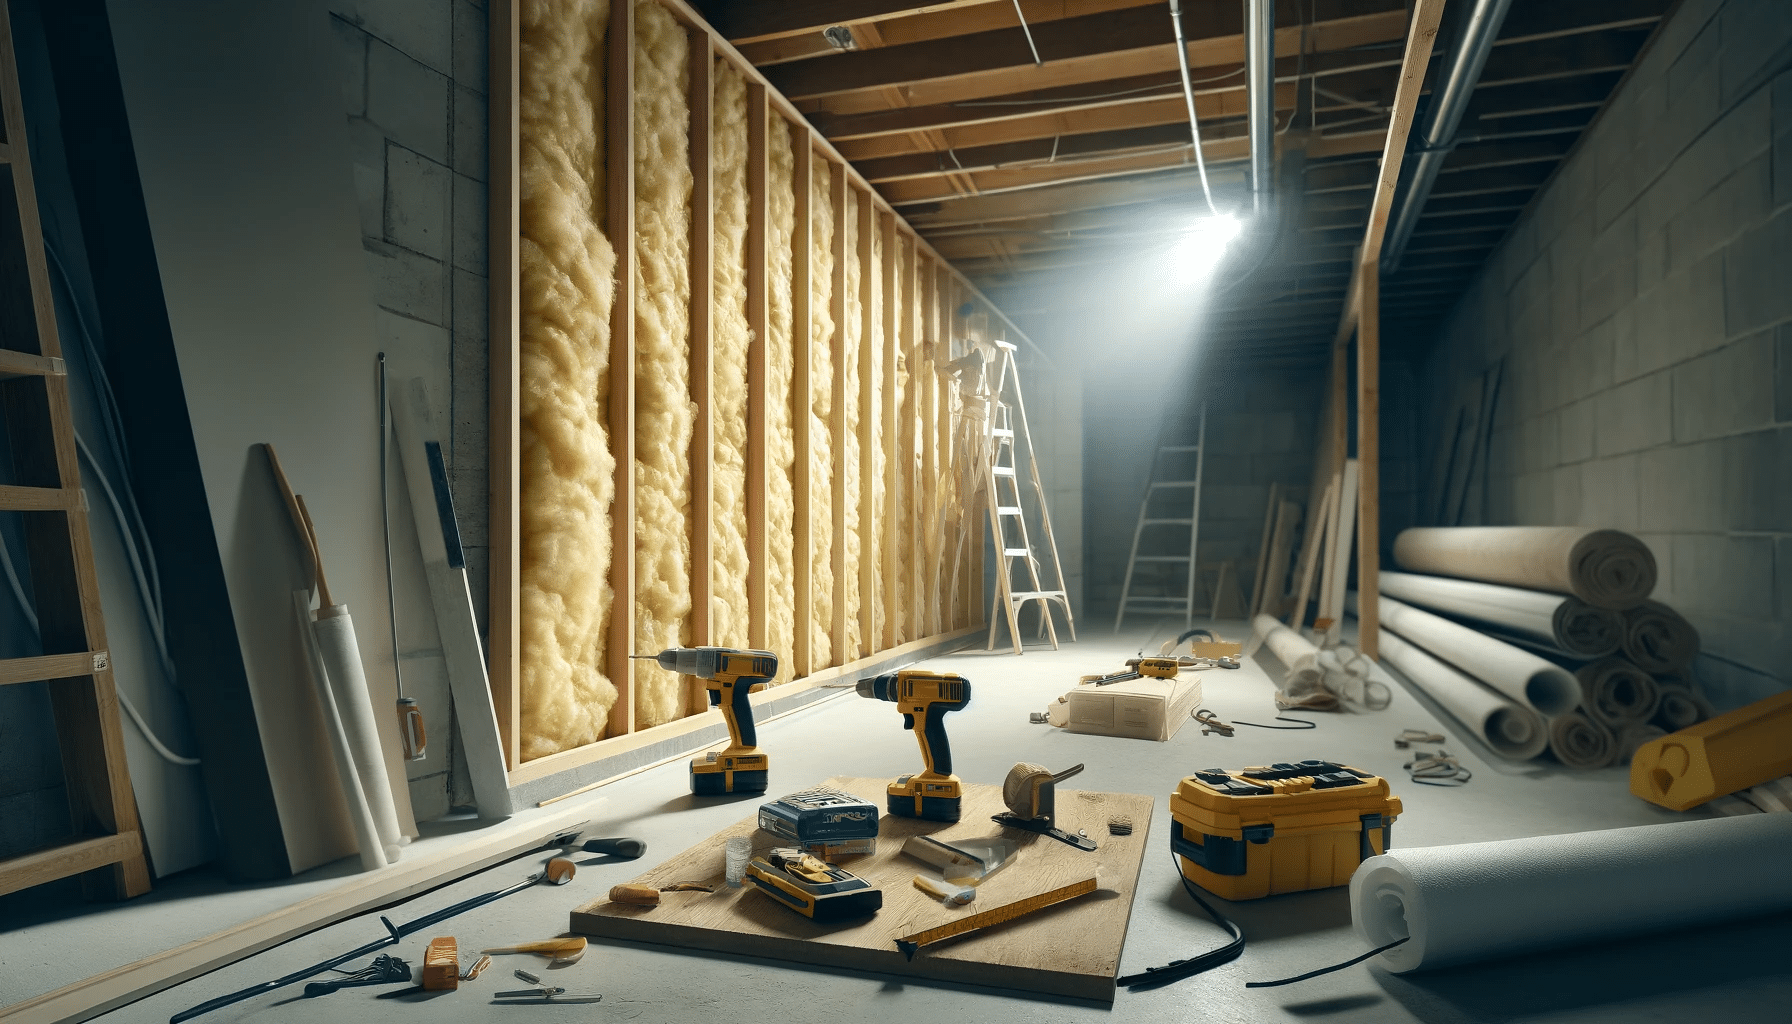
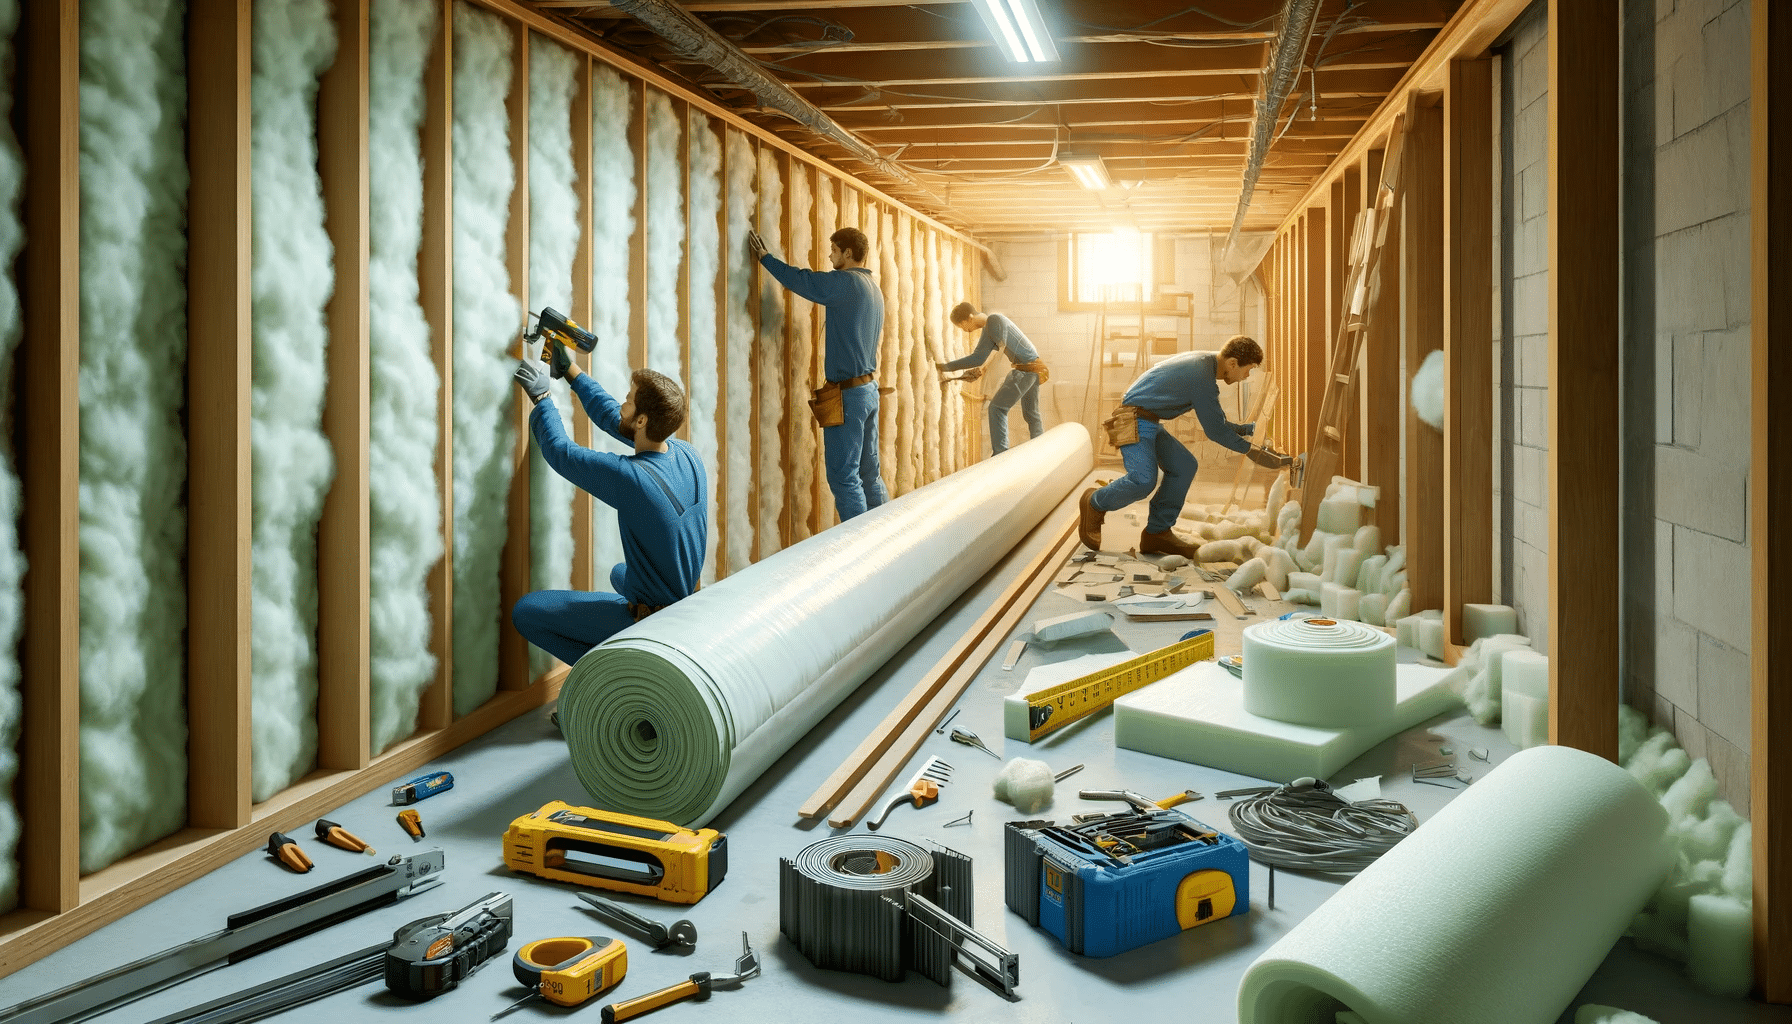
Step 1: Framing the Walls
So, get started with your basement makeover by making a nice frame. If you use wood or metal studs, you must attach them as securely as possible to both the floor and ceiling joists. This otherwise simple layout guarantees overall firmness and strength in the structure of your wall.
Layout: Snap a chalk line where each stud will go, at 16″ in the center, the same width as the inside dimension of insulation sheets and drywall.
Frame: Gather the frame from the floor and angle it into place. Fasten at the top and bottom into the joists and floor.
Utility Considerations: Design your frame layout with spaces incorporated for electrical boxes and ventilation. This will prevent you from making changes later.

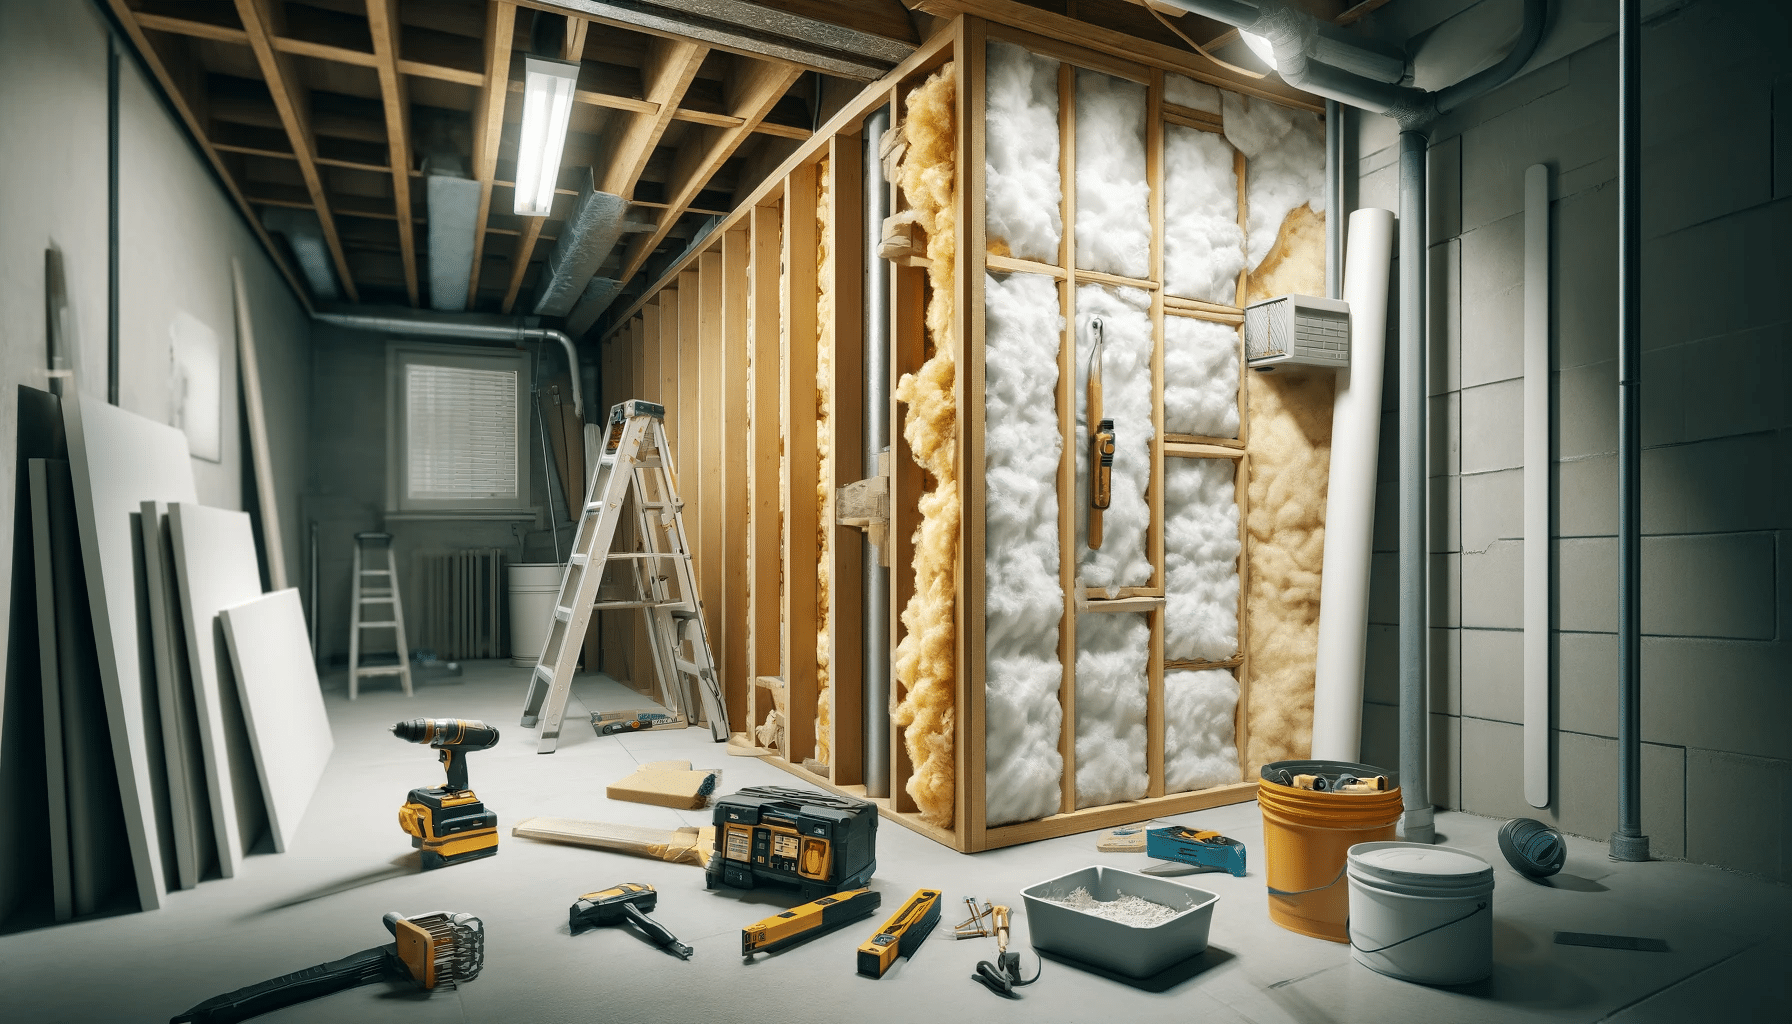
Step 2: Installing Insulation and Vapor Barriers
Next, we would have a frame, and the next critical stage would be insulation, which would increase overall comfort and make it energy efficient.
Installation: Fill the space between the studs with insulation, packing it tightly to leave no voids. You can use fiberglass batts, foam board, or spray foam, depending on your preference.
Vapor Barrier: After installing insulation, lay a vapor barrier over the top. This will help ease moisture entry into the wall, a major consideration, particularly below grade. Be sure that you have overlapped sufficiently and that all the seams are taped with vapor barrier tape.
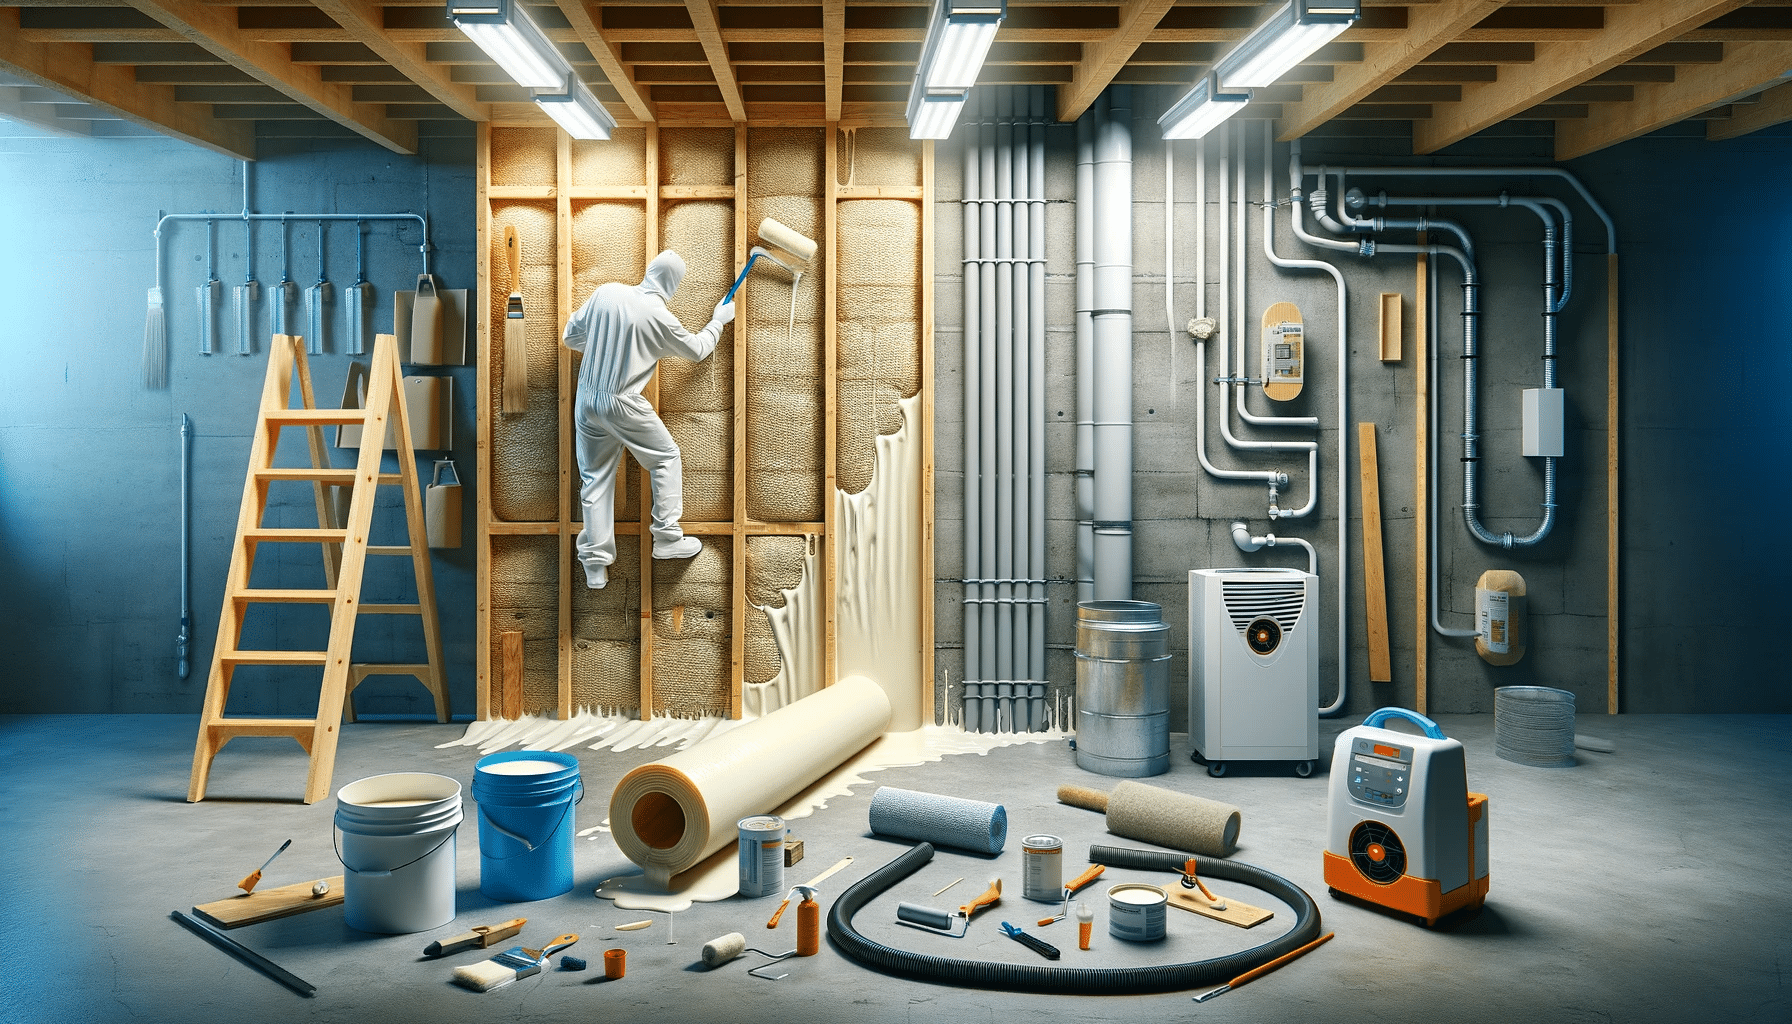
Step 3: Drywall Installation and Finishing
Now, complete your walls by fixing the drywall by hanging, taping, mudding, and sanding it.
Hanging Drywall: Begin at one corner and work around the room. Use the largest sheets possible to avoid seams and make finishing easier. Screw the drywall to studs every 16 inches.
Tape and Mud: Cover all the drywall seams with paper tape, then put it in place using a layer of joint compound. Spread it as evenly as possible.
Sanding: Sand the mud to a level, smooth surface in preparation for painting or wallpaper.
Section 5: Advanced Waterproofing and Insulation Techniques
For basement renovation, spray foam insulation is the most effective means of moisture control, maintaining a temperature balance, and promoting durability. It’s a mix of isocyanate with polyol resin, which, when combined, forms foam that expands to create a continuous barrier on the walls and around service utilities. It all but completely blocks all paths for both air and moisture to induce the destabilization of temperatures, resulting in a payback for energy costs.
Spray foam has a greater initial cost, but in terms of functioning, it lasts longer than traditional insulation and does not sag or deteriorate. It is most helpful where it remains wet or likely to be flooded to keep out moisture, prevent mold buildup, and save the health of human beings.
The spray foam applied to your basement is a material that will significantly improve the comfort levels, energy efficiency, and structural strength of your home, increasing its immediate appeal and ultimate value over time.

Section 6: The Finishing Touches
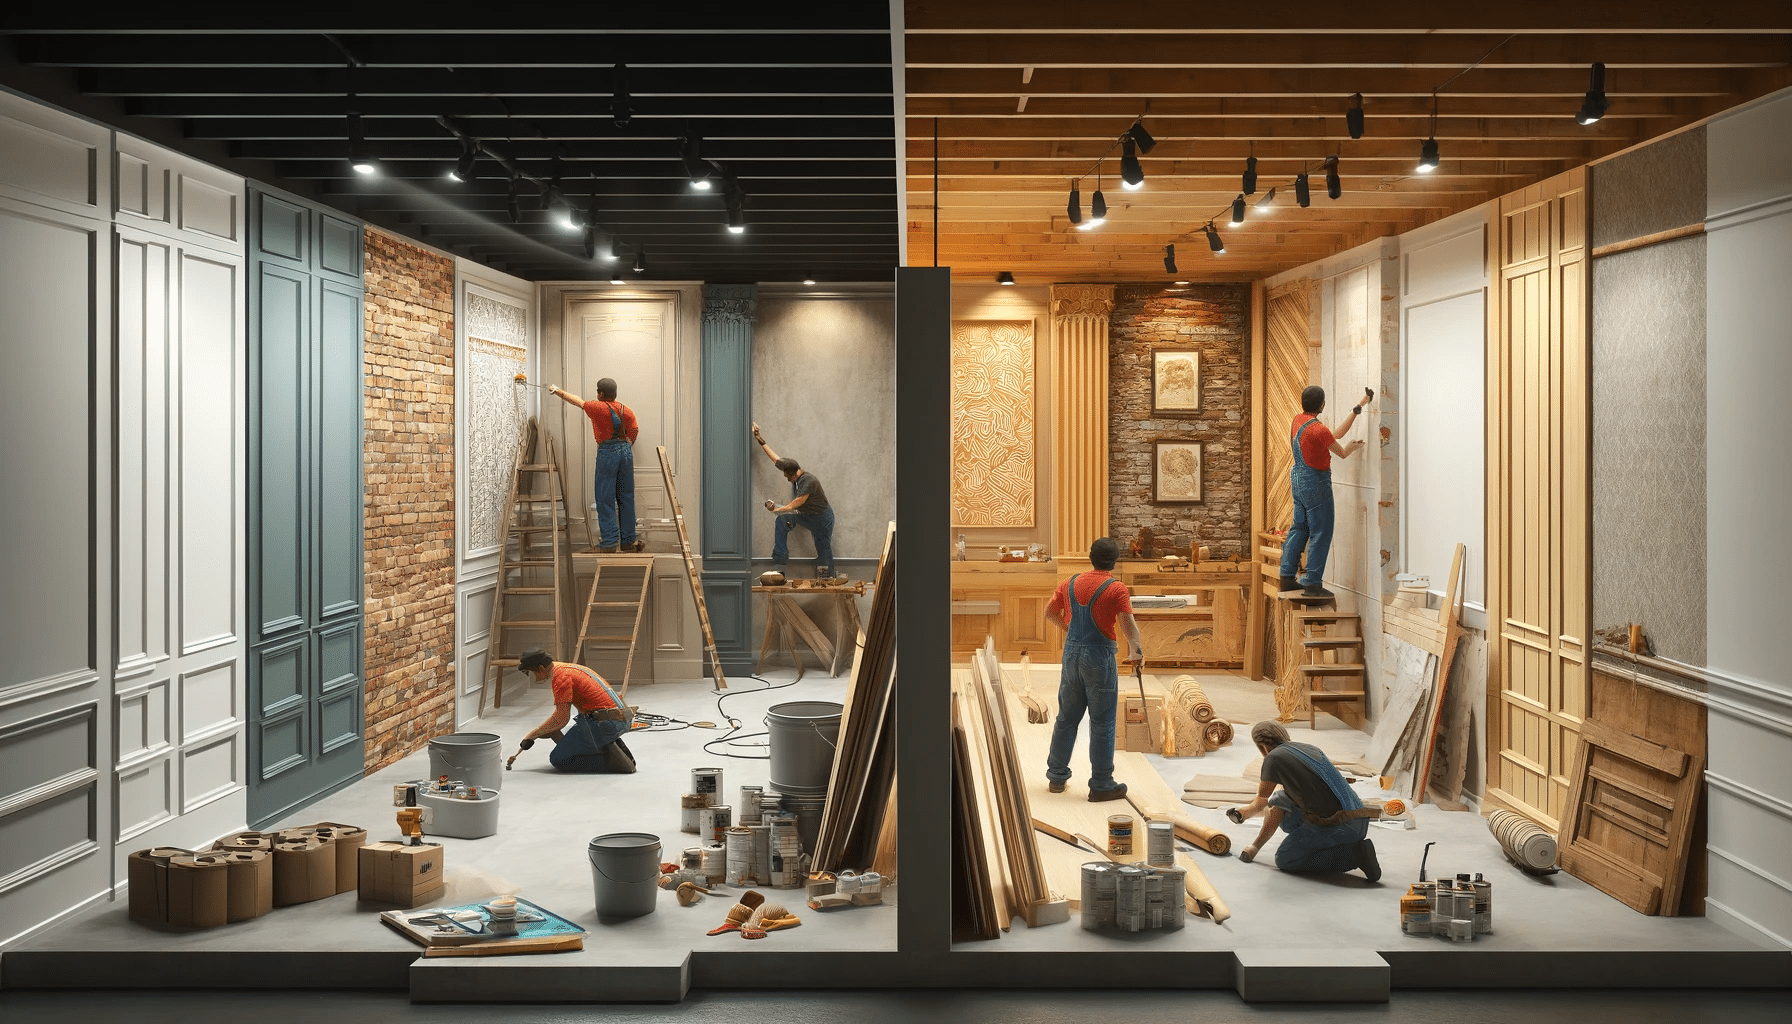
Aesthetic Options for Basement Walls
The variety of choices for the final look of your basement walls has no rival since it can be anything you want. From paint to wallpapers and other wall coverings, they all have their benefits and can be adapted to meet the special needs of the basement’s specific condition.
Water-Resistant Paint: When finishing a basement, one must use water-resistant paint because moisture can make it sticky or humid. In addition, water-resistant paint helps inhibit mildew and mold growth while coming in fantastic colors and finishing options. Latex-based paints are best because of their easy application and durability in basements prone to moisture.
Wallpaper: Modern wallpapers offer the most robust, moisture-resistant options, making them great for basements. The options in this category are diverse, from vinyl wallpapers that can withstand wet conditions to fiberglass papers, which offer added strength and resistance to mold.
Specialty Wall Coverings: Try cork or foam wall panels for something off-beat. Produced with high insulating and sound-proofing qualities, the panels are easy to handle. The panels can easily mimic textures from looking like brick to stone, thus you give the industrial or rustic touch to your basement without carrying out much masonry work.
Our team can easily work through this by uploading images of one’s basement and then playing around with the numerous finishes and colors. This can be a fantastic way to see potential results before committing.
Installation of Fixtures and Safety Features
Your safety and that of the functionalities of the finished basement are as important included in these fixtures and safety features:
Moisture-proof Electrical Fixtures: Use fixtures designed to operate correctly in damp environments. This is particularly important since basement light fixtures may be exposed to abnormally high moisture levels.
GFCI Outlets: Ground-fault circuit Interrupter (GFCI) outlets are essential in any area likely to be exposed to moisture. Such protection devices automatically cut down electricity in case of moisture detection, which may be a giant safety concern in basements that might be potentially wet and have many electric appliances around.
Proper Ventilation: Either proper ventilation or an exhaust system should be installed to assist in regulating your basement’s moisture and air quality. This step would be necessary when using the basement as a living space or if a bathroom or kitchenette is installed.
Egress Windows: Besides the beauty a basement contributes to the living space, most crucially, egress windows are a legal requirement in many places for safety in basements where people will be living. They also provide a safe exit when emergencies occur and allow in natural light so that the space does not feel like a basement but more like part of your home.
These final touches will transform your basement into a beautifully designed, safe, and functioning area of your home that you and your family can enjoy for years.

Conclusion
You now have all the information and tools to remodel your basement into an attractive and usable space fully. After all, things worth doing should be carefully planned and executed every step of the way. Just follow the guidelines here and transform your basement into a fully finished basement that will look amazing and add value and comfort to your home at the same time.

Call to Action
Are you ready to turn your basement renovation ideas into a reality? Contact Volcano Builders for expert guidance and support.